1.下载nexus3的镜像:
docker pull sonatype/nexus3
2.使用镜像启动一个容器:
将Docker 仓库目录外置于宿主机 也可放置于Docker自定义 开放端口自定义
mkdir /opt/nexus-data
chmod 777 /opt/nexus-data
docker run -d --name nexus --restart=always -p 5000:5000 -p 8081:8081 -v /opt/nexus-data:/nexus-data --ulimit nofile=65536:65536 sonatype/nexus3
注:5000端口是用于镜像仓库的服务端口 8081 端口是nexus的服务端口
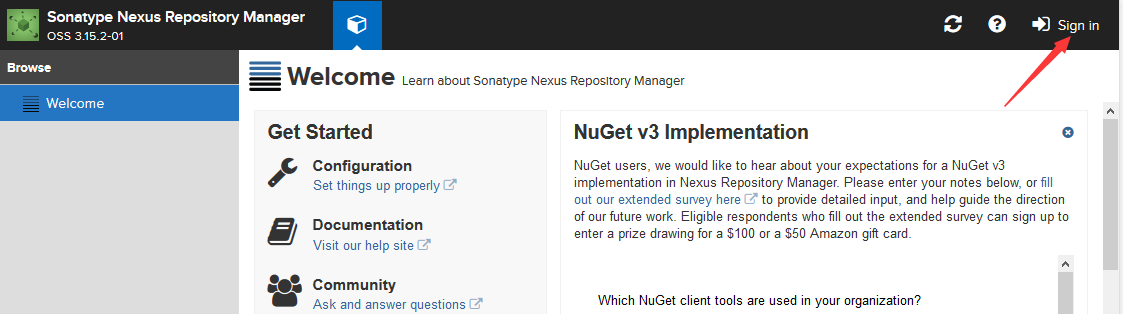
3.启动之后我们就可以通过http://服务器IP:8081访问。
默认账号密码为admin/admin123
点击右上角进行登录,通过初始用户名和密码进行登录(admin/admin123)
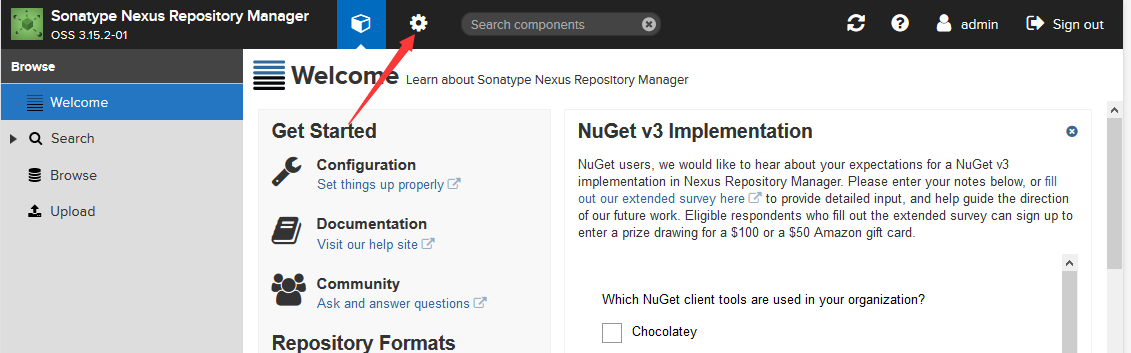
4 ,创建Docker 私有仓库
打开控制页面的按钮,默认进入了仓库配置界面
选择 repository 界面
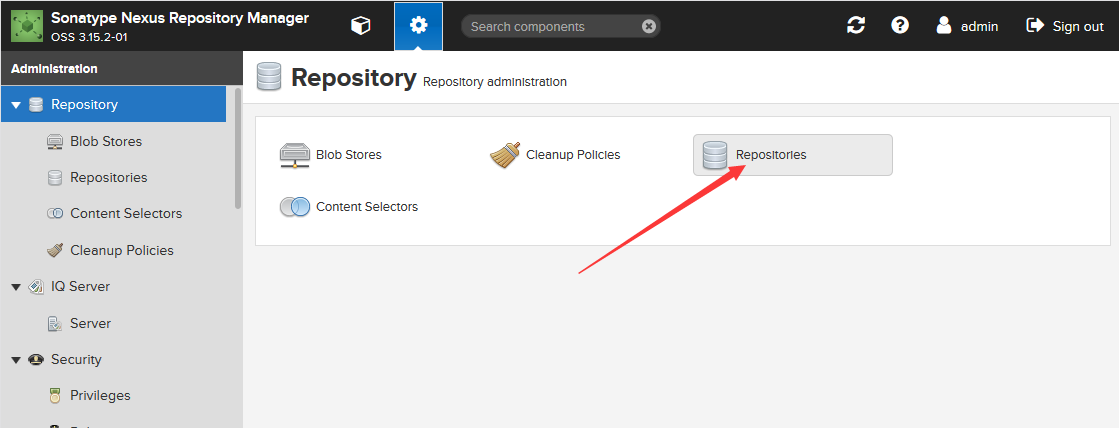
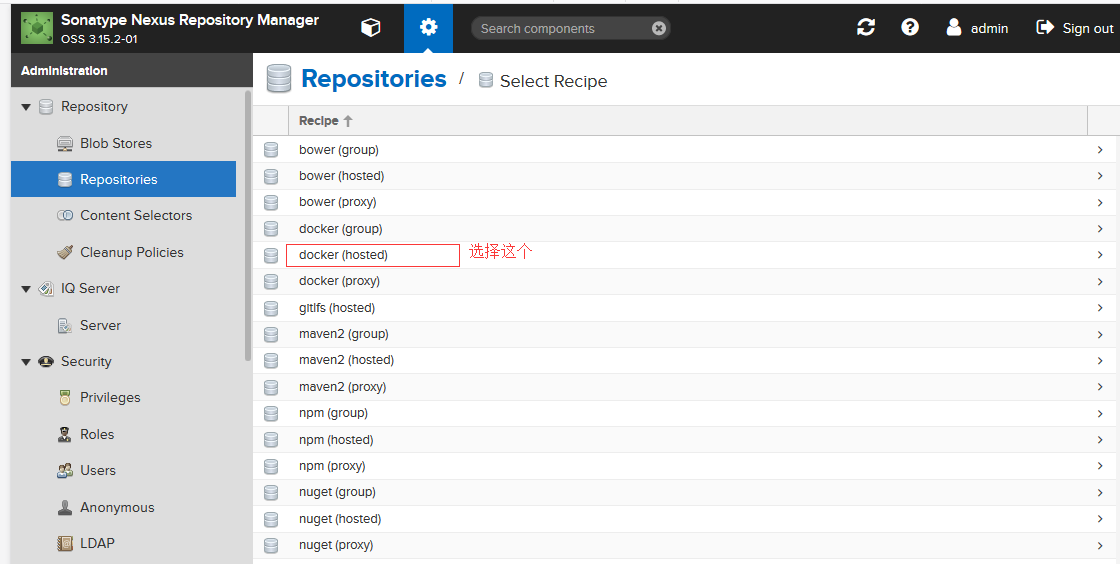
点击 repositories 打开页面后点击【create repository】打开仓库类型选择界面(真的非常丰富!):

选择Docker (hosted)
可以看到 Docker 有三种类型,分别是 docker(group),docker(hosted),docker(proxy)。其含义解释如下:
- hosted : 本地存储,即同 docker 官方仓库一样提供本地私服功能
- proxy : 提供代理其他仓库的类型,如 docker 中央仓库
- group : 组类型,实质作用是组合多个仓库为一个地址
下面开始创建 Docker 仓库:
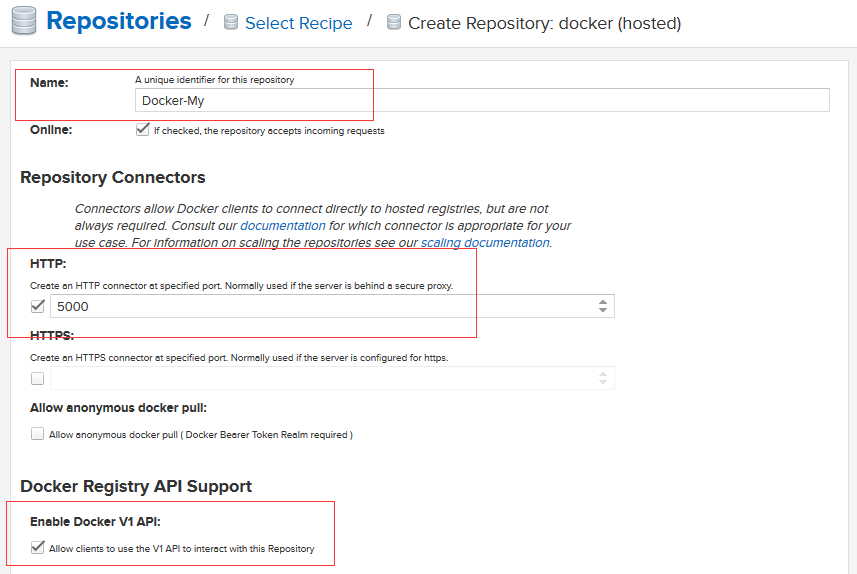
往下翻页,勾上 “Allow clients to use the V1 API to interact with this Repository”,允许 Docker V1 API 请求
至此,nexus 在 docker 这一块是部署已经完成了,但是这样并不能很好的使用。因为 group 仓库并不能推送镜像,因为你推送自己制作的镜像到仓库还得通过本地仓库的端口去推送,很不方便!
Nexus 内使用了 HTTPS , 在没有深入了解建议配置域名 使用HTTPS
下面分享一下我这边原创的解决方法:通过 Nginx 来判断推镜像还是拉镜像,然后代理到不同端口,解决这个问题,还是非常巧妙的。
配置 Nginx
在部署 Nginx 部分,我们先需要生成自签名 SSL 证书,因为后面不想在 docker pull 的时候还要带一个端口!这里我们需要 2 个域名,一个用来展示 nexus 前台,另一个用做 docker 仓库,比如:
nexus 前台:nexus.world-alive.win
docker 仓库:docker.world-alive.win
生成自签名 SSL 证书的方法网上很多,这里推荐一个一键生成工具,大家可以尝试使用:https://github.com/Fishdrowned/ssl ,使用方法请参考作者说明。
Ps:如果你打算做外网仓库服务,那也可以去申请一个免费 SSL 证书,我这边是
贴上一份 Nginx 配置
upstream nexus {
server 192.168.11.110:8081;
}
upstream docker-nexus {
server 192.168.11.110:5000;
}
listen 192.168.11.110:80;
server_name nexus.world-alive.win;
access_log /usr/local/nginx/logs/world-alive.win-access.log main;
error_log /usr/local/nginx/logs/world-alive.win-error.log;
rewrite ^(.*)$ https://$host$1 permanent;
client_max_body_size 4G;
set_real_ip_from 192.168.11.110;
real_ip_header X-Real-IP;
location ~* \.(jpg|jpeg|gif|png|js|css|ico)$ {
proxy_set_header Host $host;
proxy_set_header X-Real-IP $remote_addr;
proxy_set_header X-Forwarded-For $proxy_add_x_forwarded_for;
proxy_cache_use_stale error timeout invalid_header updating http_500 http_502 http_503 http_504;
proxy_cache_key $host$uri$is_args$args;
add_header Nginx-Cache "$upstream_cache_status";
proxy_pass http://nexus;
}
location / {
proxy_set_header Host $host;
proxy_set_header X-Real-IP $remote_addr;
proxy_set_header X-Forwarded-For $proxy_add_x_forwarded_for;
proxy_read_timeout 300s;
proxy_connect_timeout 300s;
proxy_pass http://nexus;
}
}
server {
listen 192.168.11.110:443;
server_name nexus.world-alive.win;
access_log /usr/local/nginx/logs/world-alive.win-access.log main;
error_log /usr/local/nginx/logs/world-alive.win-error.log;
client_max_body_size 4G;
set_real_ip_from 192.168.11.110;
real_ip_header X-Real-IP;
ssl on;
ssl_certificate /usr/local/nginx/ssl/nexus/fullchain.crt;
ssl_certificate_key /usr/local/nginx/ssl/nexus/private.pem;
#ssl_protocols SSLv2 SSLv3 TLSv1;
ssl_protocols TLSv1.2;
ssl_ciphers ALL:!ADH:!EXPORT56:RC4+RSA:+HIGH:+MEDIUM:+LOW:+SSLv2:+EXP;
ssl_prefer_server_ciphers on;
location ~* \.(jpg|jpeg|gif|png|js|css|ico)$ {
proxy_set_header Host $host;
proxy_set_header X-Real-IP $remote_addr;
proxy_set_header X-Forwarded-For $proxy_add_x_forwarded_for;
proxy_set_header X-Forwarded-Proto $scheme;
#proxy_pass http://nexus;
proxy_cache_use_stale error timeout invalid_header updating http_500 http_502 http_503 http_504;
proxy_cache_key $host$uri$is_args$args;
add_header Nginx-Cache "$upstream_cache_status";
proxy_pass http://nexus;
}
location / {
proxy_set_header Host $host;
proxy_set_header X-Real-IP $remote_addr;
proxy_set_header X-Forwarded-For $proxy_add_x_forwarded_for;
proxy_set_header X-Forwarded-Proto $scheme;
###
fastcgi_buffer_size 256k;
fastcgi_buffers 16 256k;
fastcgi_busy_buffers_size 512k;
fastcgi_temp_file_write_size 512k;
proxy_read_timeout 300s;
proxy_connect_timeout 300s;
proxy_pass http://nexus;
}
}
docker.world-alive.win 私有仓库配置 同样的更下 proxy_pass http://nexus 为 docker-nexus 即可
5 客户端
编辑/etc/docker/daemon.json 增加如下内容,当然也可通过启动参数增加
{
"insecure-registries":["http://docker.world-alive.win"]
}
重启 Docker
service docker restart
登录私库
要使用私库进行上传下载需要进行登录连接到Nexus
docker login docker login docker.world-alive.win
Docker上传镜像到私库
使用docker tag 对镜像进行管理(必须进行此项操作)
docker tag使用格式:
docker tag SOURCE_IMAGE[:TAG] TARGET_IMAGE[:TAG]
docker tag centos-made:web docker.world-alive.win/centos-made:web
root@ip-172-31-13-189:/tmp/history# docker images
REPOSITORY TAG IMAGE ID CREATED SIZE
centos-made web a1ceed33f531 2 years ago 1.098 GB
docker.world-alive.win/centos-made web a1ceed33f531 2 years ago 1.098 GB
上传镜像
docker push docker.world-alive.win/centos-made:web
没有评论